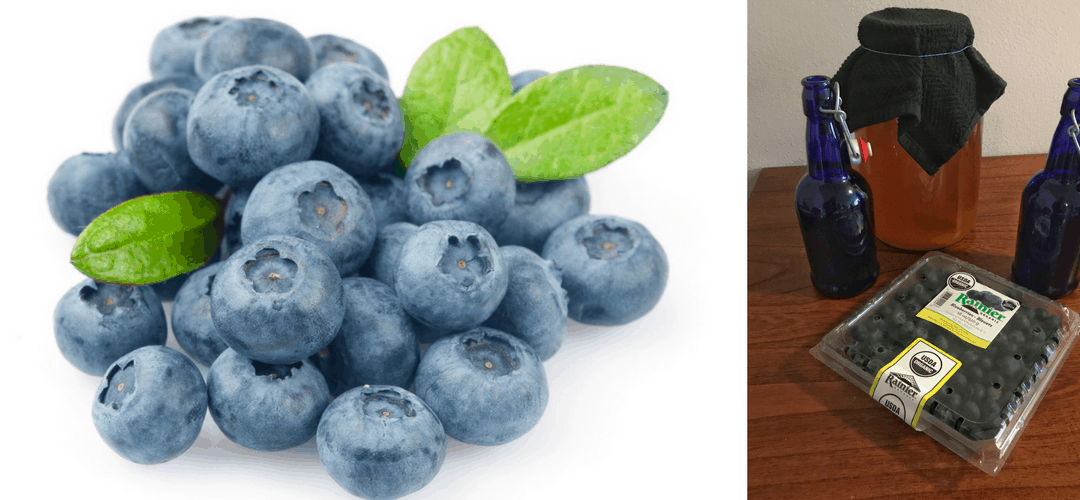
We love eating our blueberries fresh out of hand, but we know that there is a wealth of delicious uses for our blue superfruit. In fact, our running ambassador Laura, from This Runner’s Recipes shared with us her latest project that includes a little home brew from the blues. If you aren’t familiar with it, take a read and learn all about kombucha.
LACE UP TIPS FROM LAURA
Kombucha is a fermented tea that has become increasingly popular over the past few years. Kombucha provides probiotics for gut-health and other health benefits, but it also comes with a price tag upwards of $3 a bottle, so it may not be best for your budget. However, home brewed kombucha is budget-friendly and easy to make. Once you learn the process, it will only take a few minutes per batch!
Kombucha is made with a few simple ingredients: tea, sugar, a bacteria “mother” (called a scoby), and natural flavorings such as fruit or spices. It has a sweet-tart flavor with a slight effervescence. Kombucha does have a low alcohol content (usually 0.5% ABV) due to the fermentation process.
Recently, I started brewing my own kombucha. I already make my own sourdough starter and brew beer with my husband, so I felt comfortable in approaching the process of brewing my own kombucha at home. Here’s how I make my own kombucha – and how you can as well, using Rainier blueberries!
The Benefits of Homemade Kombucha
When kombucha ferments, it produces lactic acid bacteria (lactobacillus). (The scoby and starter kombucha help ensure the production of good bacteria.) Lactobacillus is the same type of probiotic that you find in yogurt, sourdough, and sauerkraut. The health benefits of probiotics include better digestion by fostering the growth of the good gut bacteria and a stronger immune system.
How to Make Your Own Kombucha
You will need a gallon glass jar, 6, 16-oz. swing-top glass bottles, a couple of tightly-woven tea towels, a funnel, rubber band, and a stock pot.
Ingredients:
- 8 bags of tea or 2 tablespoons loose tea – black or green
- 3.5 quarts of water (14 cups)
- 1 cup sugar
- Scoby (you can find this at a local brew shop or online)
- 16 oz. starter kombucha*
- Flavoring: 1 cup of fruit – such as Rainier organic blueberries
*For the starter kombucha, you will need to purchase unflavored kombucha for your first batch. For each subsequent batch, reserve 16 ounces of kombucha before bottling and flavoring. You can store this starter kombucha with the Scoby in the fridge or immediately start fermenting the next batch.
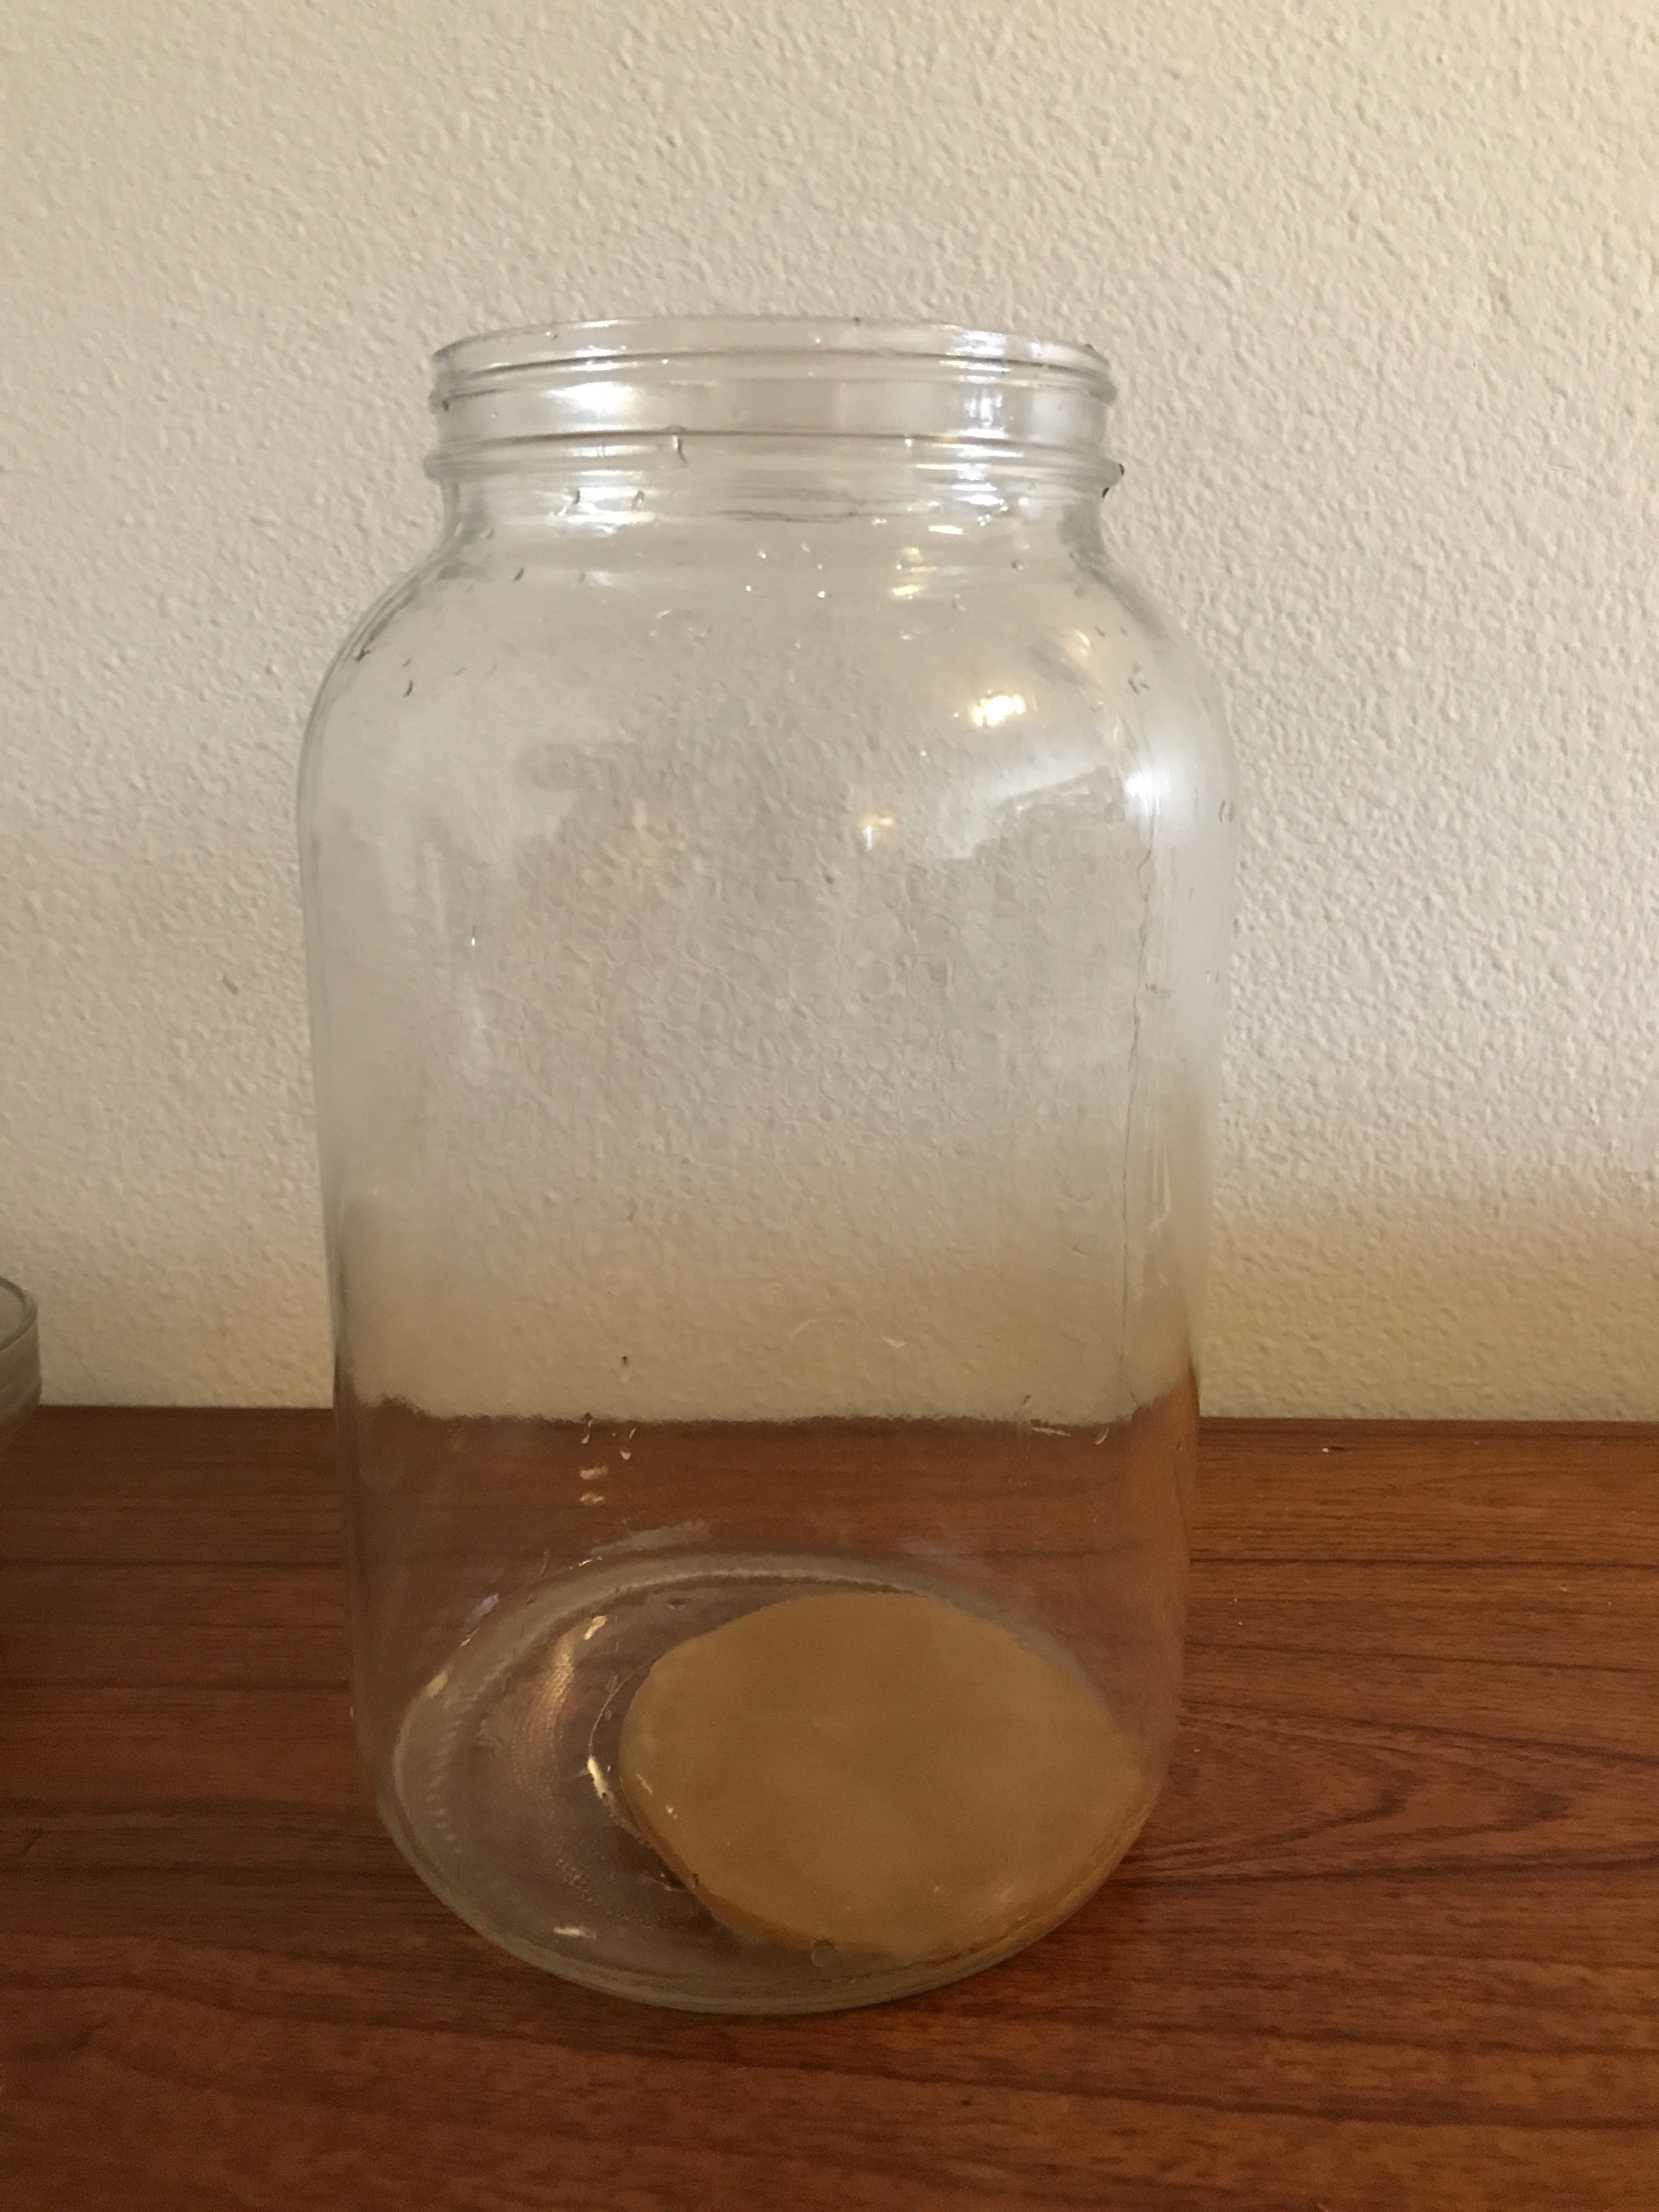
- Make the tea: Bring the water to a boil in the stock pot. Remove from heat, stir in sugar, and add the tea. Steep the tea until the water has cooled – this will take a few hours. Once cooled, remove the tea bags or strain out the tea leaves.
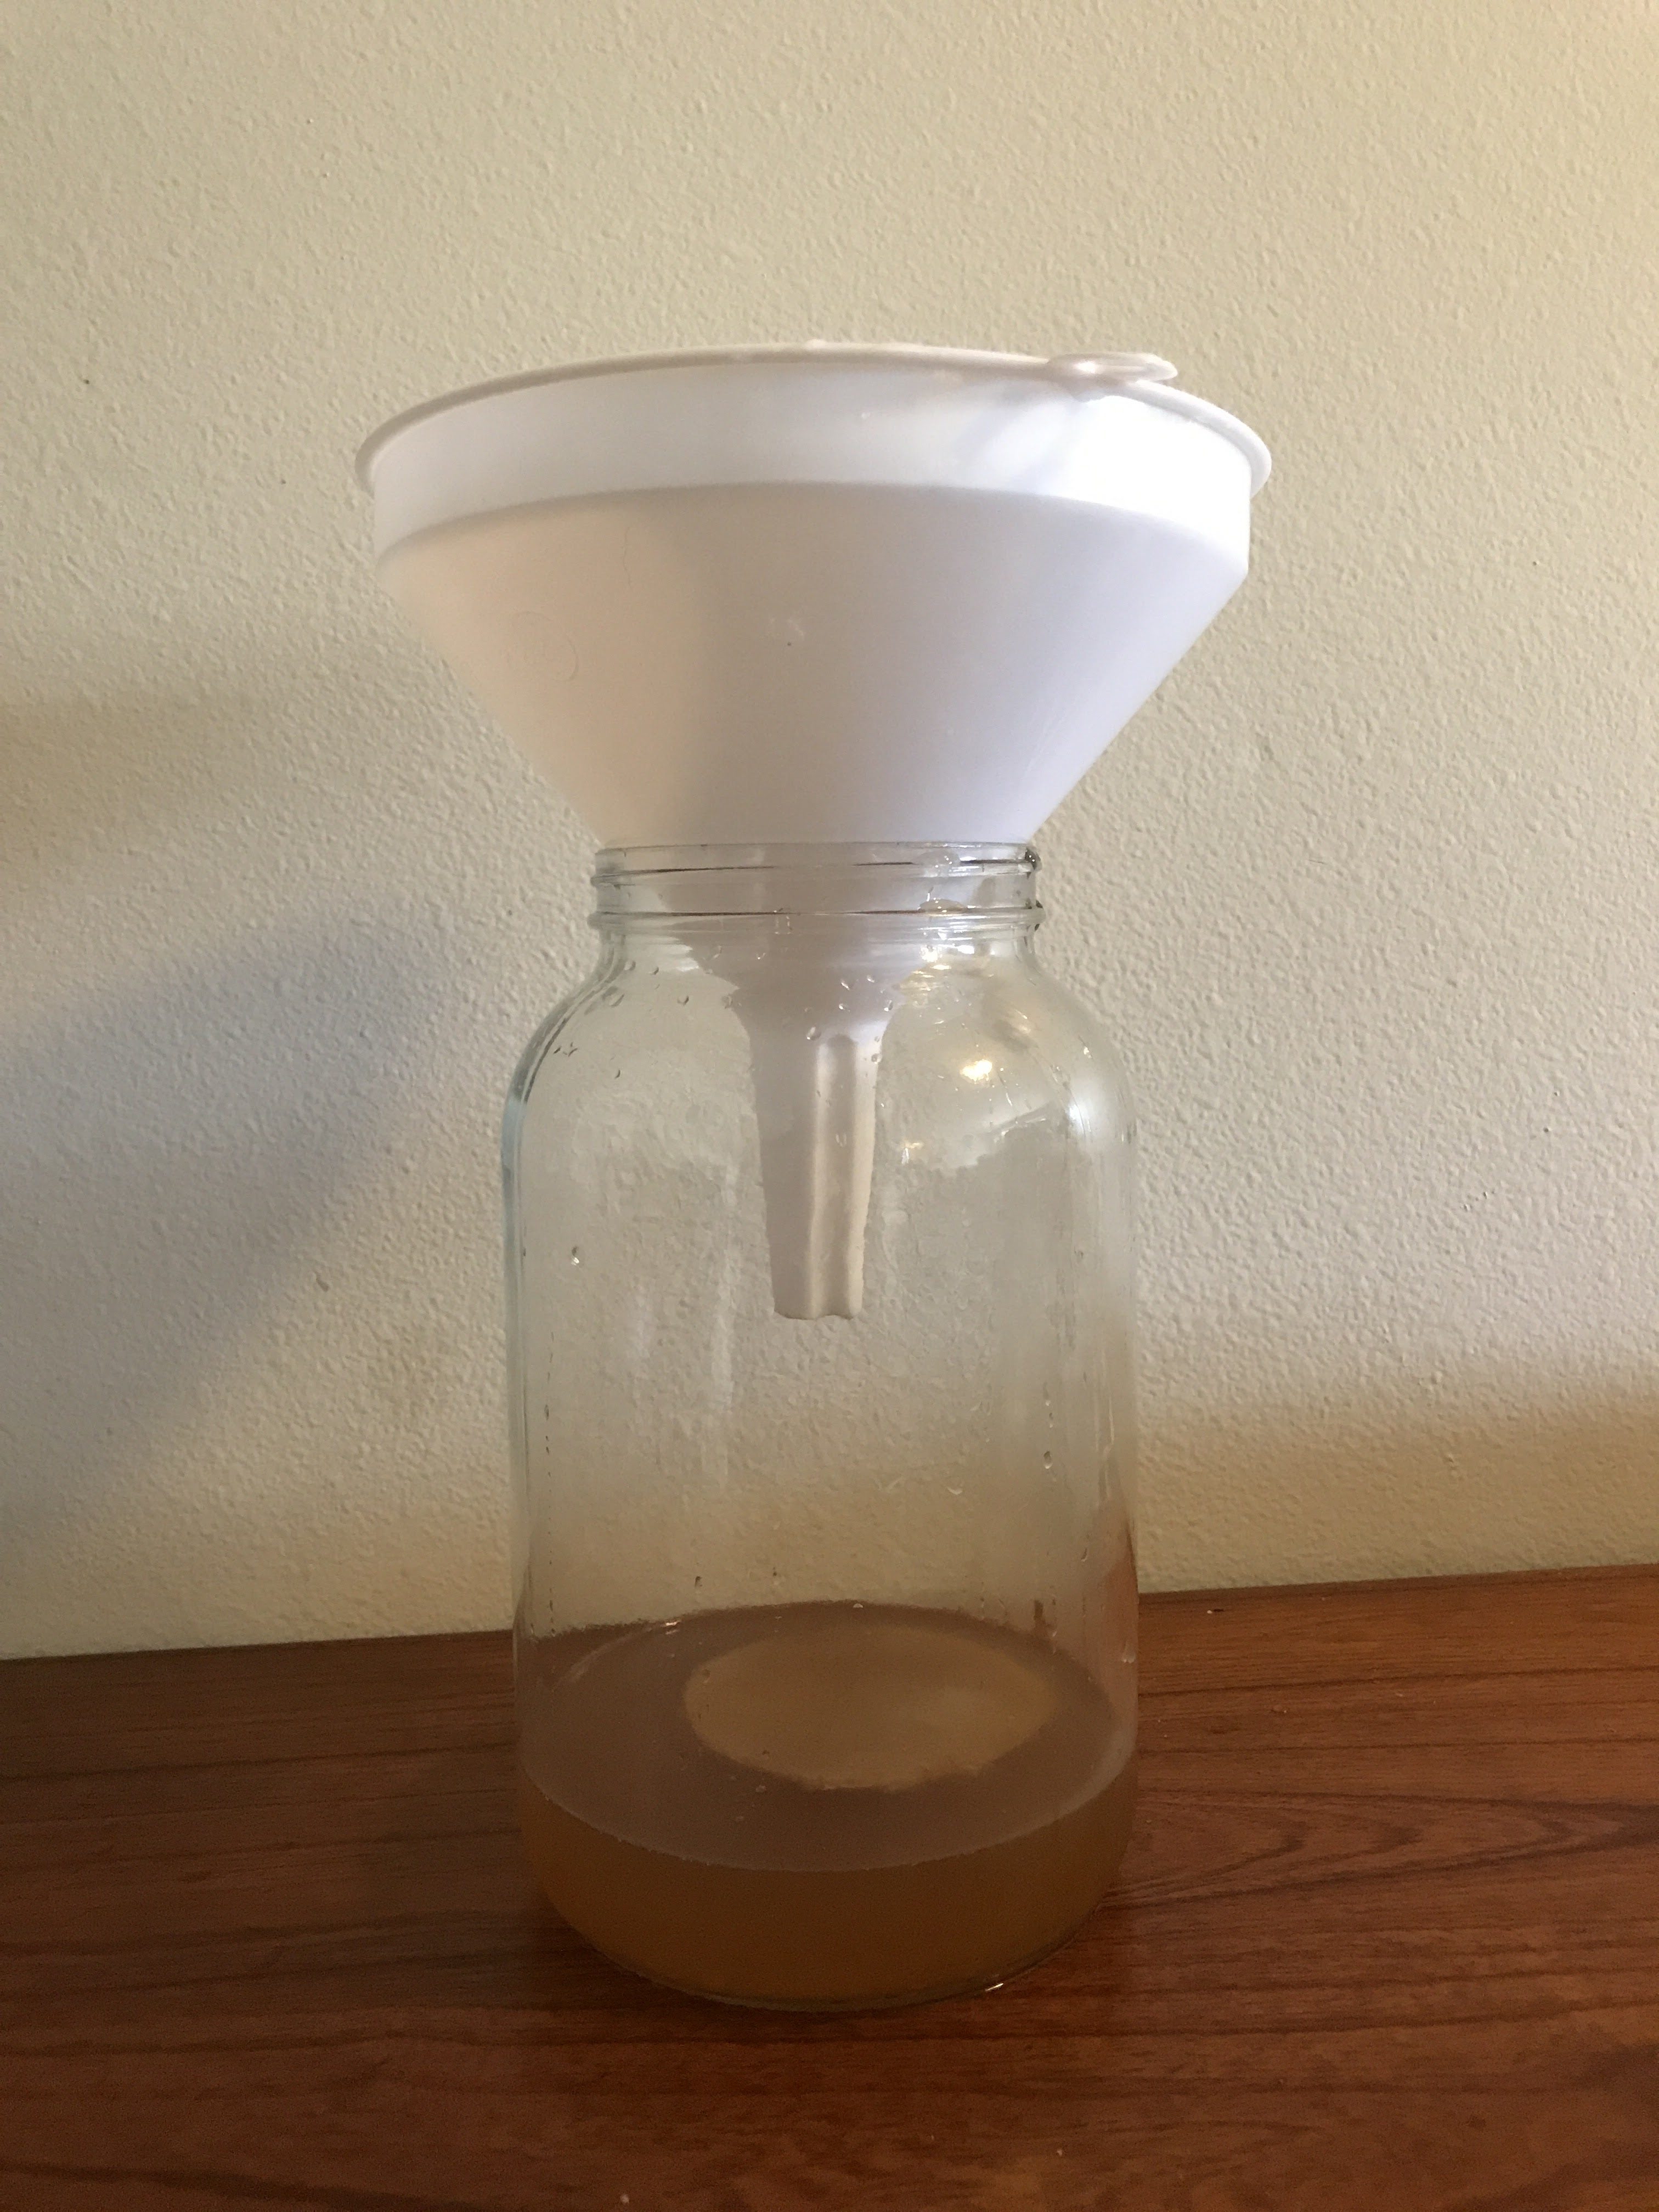
- Add the starter and scoby: Clean the gallon jar with white vinegar to neutralize it. Add the tea, starter kombucha, and scoby to the gallon jar (be sure to handle the scoby with clean hands). Cover the jar with tea towels and secure with a rubber band.
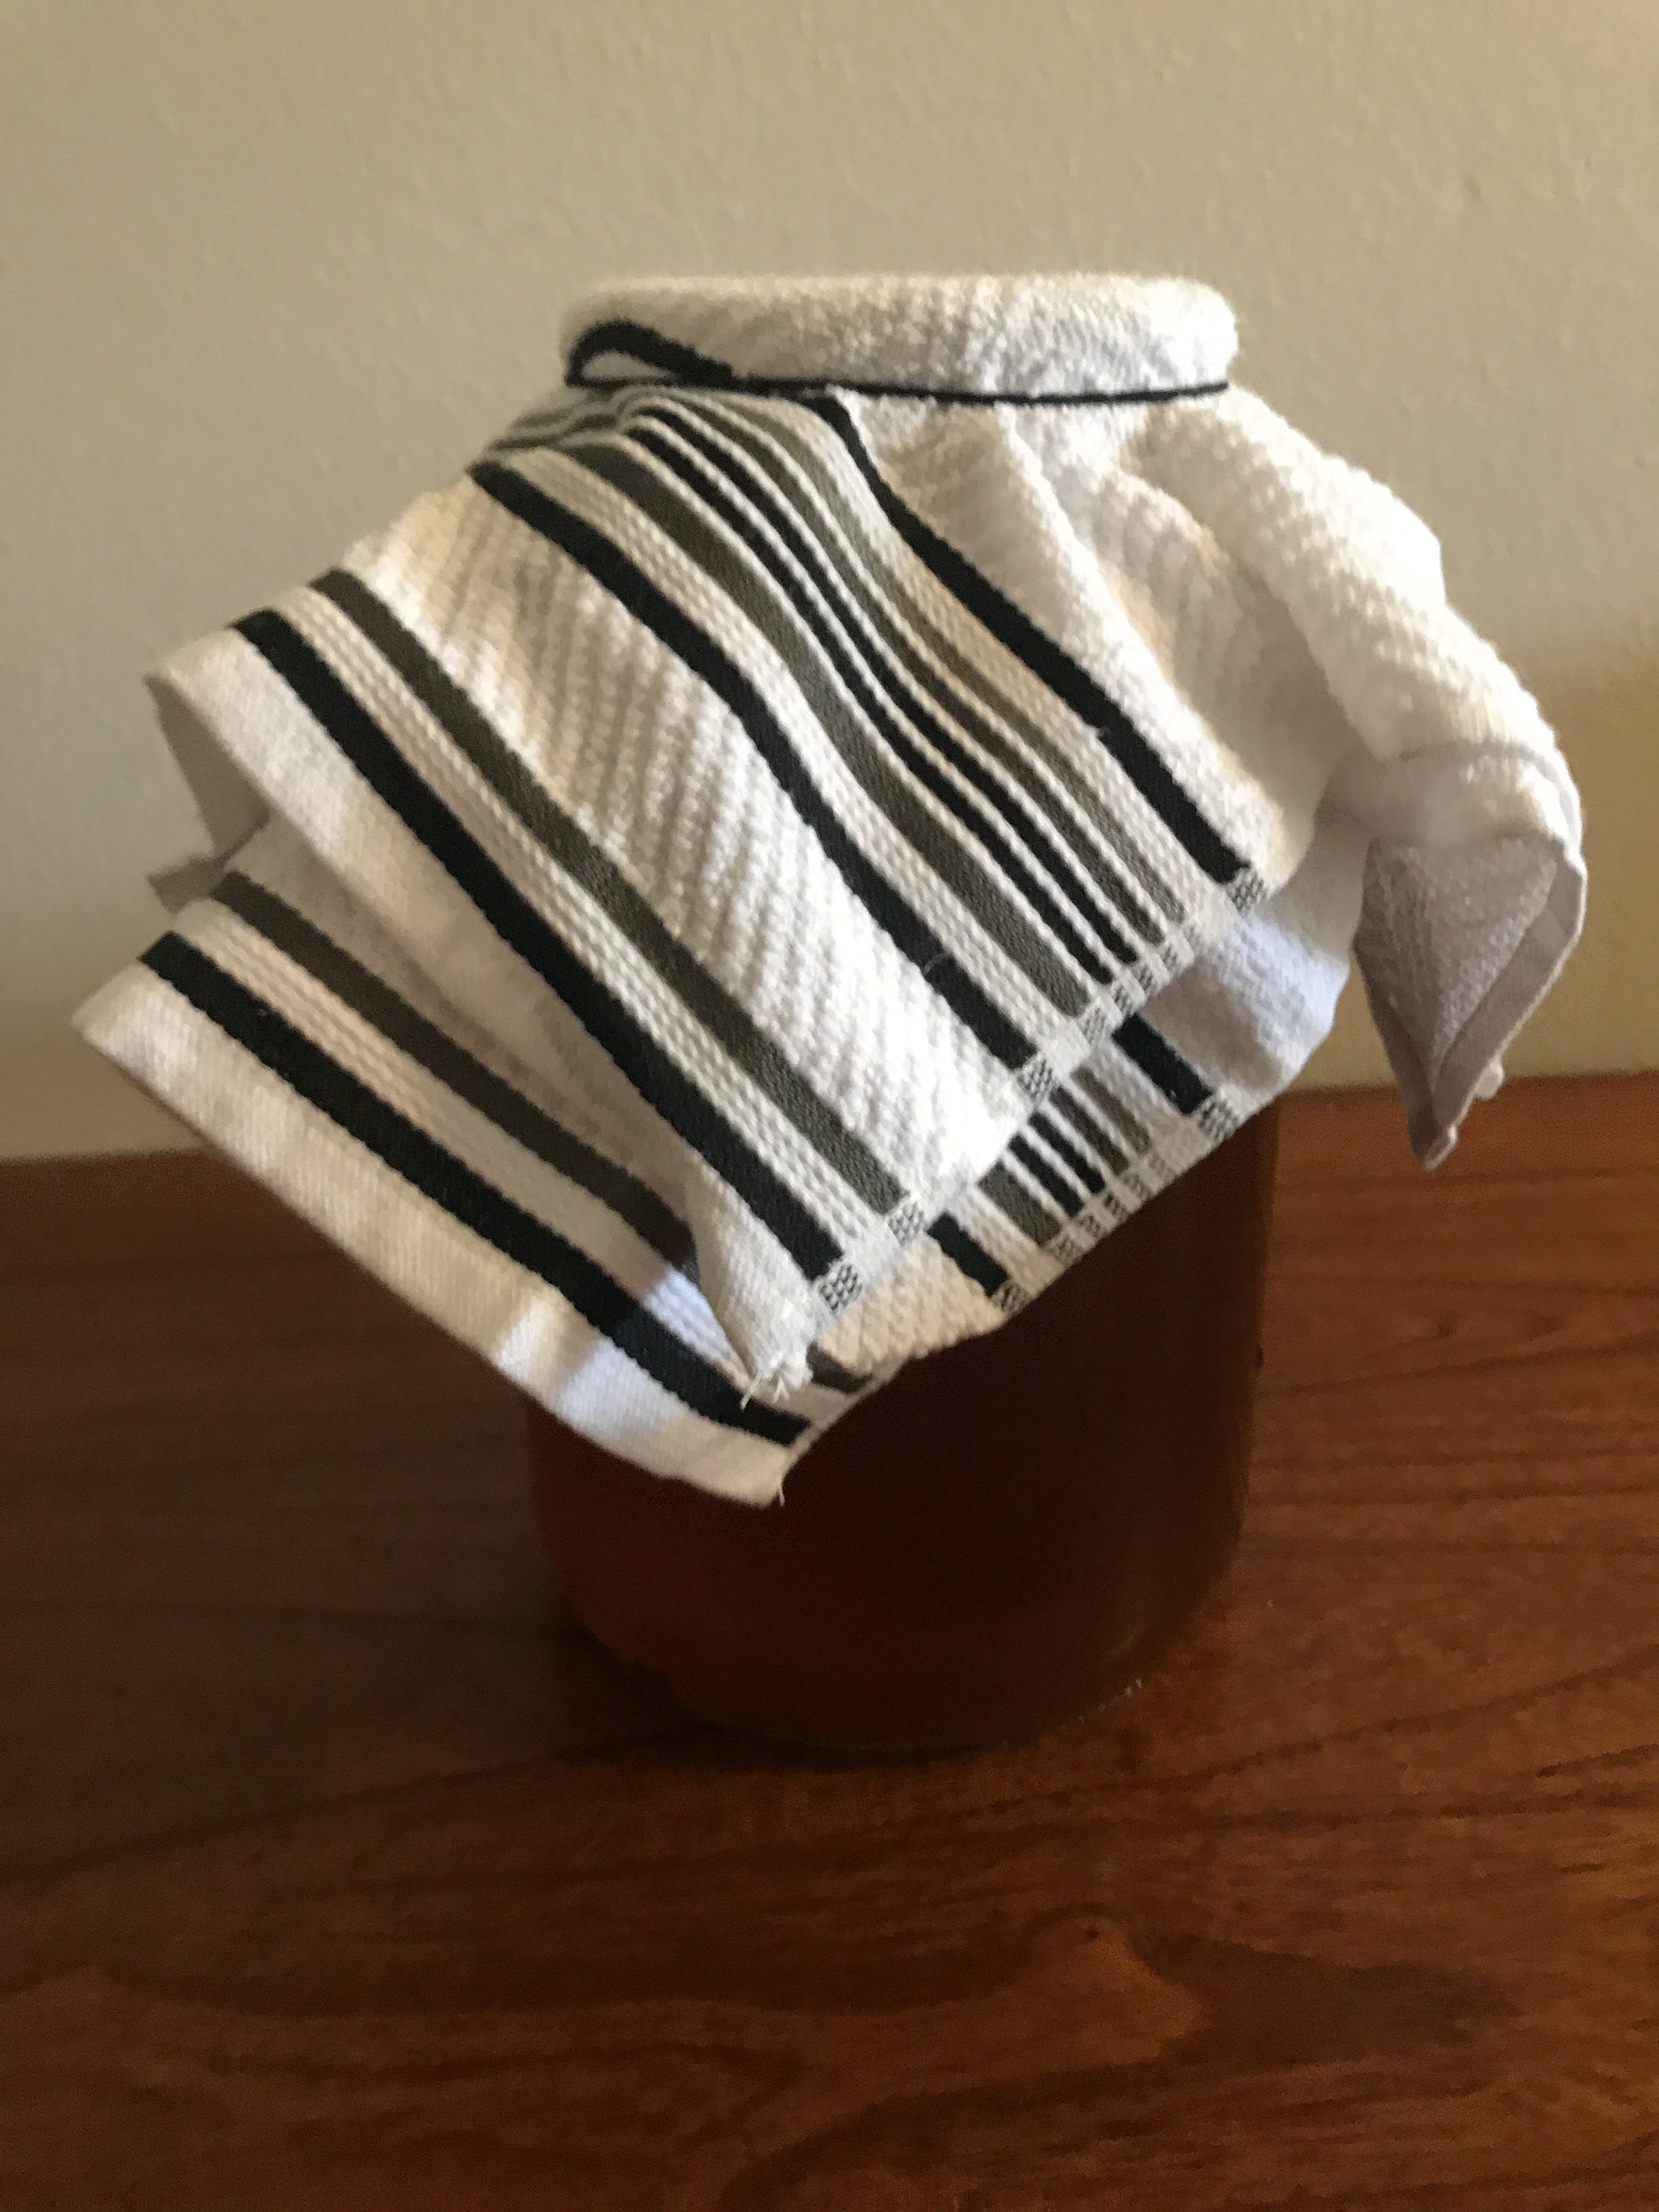
- Ferment: Place the kombucha in a safe place at room temperature and away from direct sunlight. Ferment the kombucha for 7-10 days. Healthy fermentation includes signs such as sediment, brown stringy bits of scoby, and a growing scoby. Unhealthy fermentation will show signs of mold – if this occurs, discard everything and start over again.
- Remove the scoby and starter tea: After the fermentation is complete, remove the scoby with clean hands and place in a glass jar or glass container. Measure out 16 ounces of starter tea for the next fermentation. You can store these in the glass container together in the fridge or start brewing the next batch immediately.
- Flavor and bottle: Divide the cup of blueberries (or flavoring of choice) between the six clean swing-top bottles. Use the funnel to transfer the kombucha to swing-top bottles, leaving room at the top, and seal.
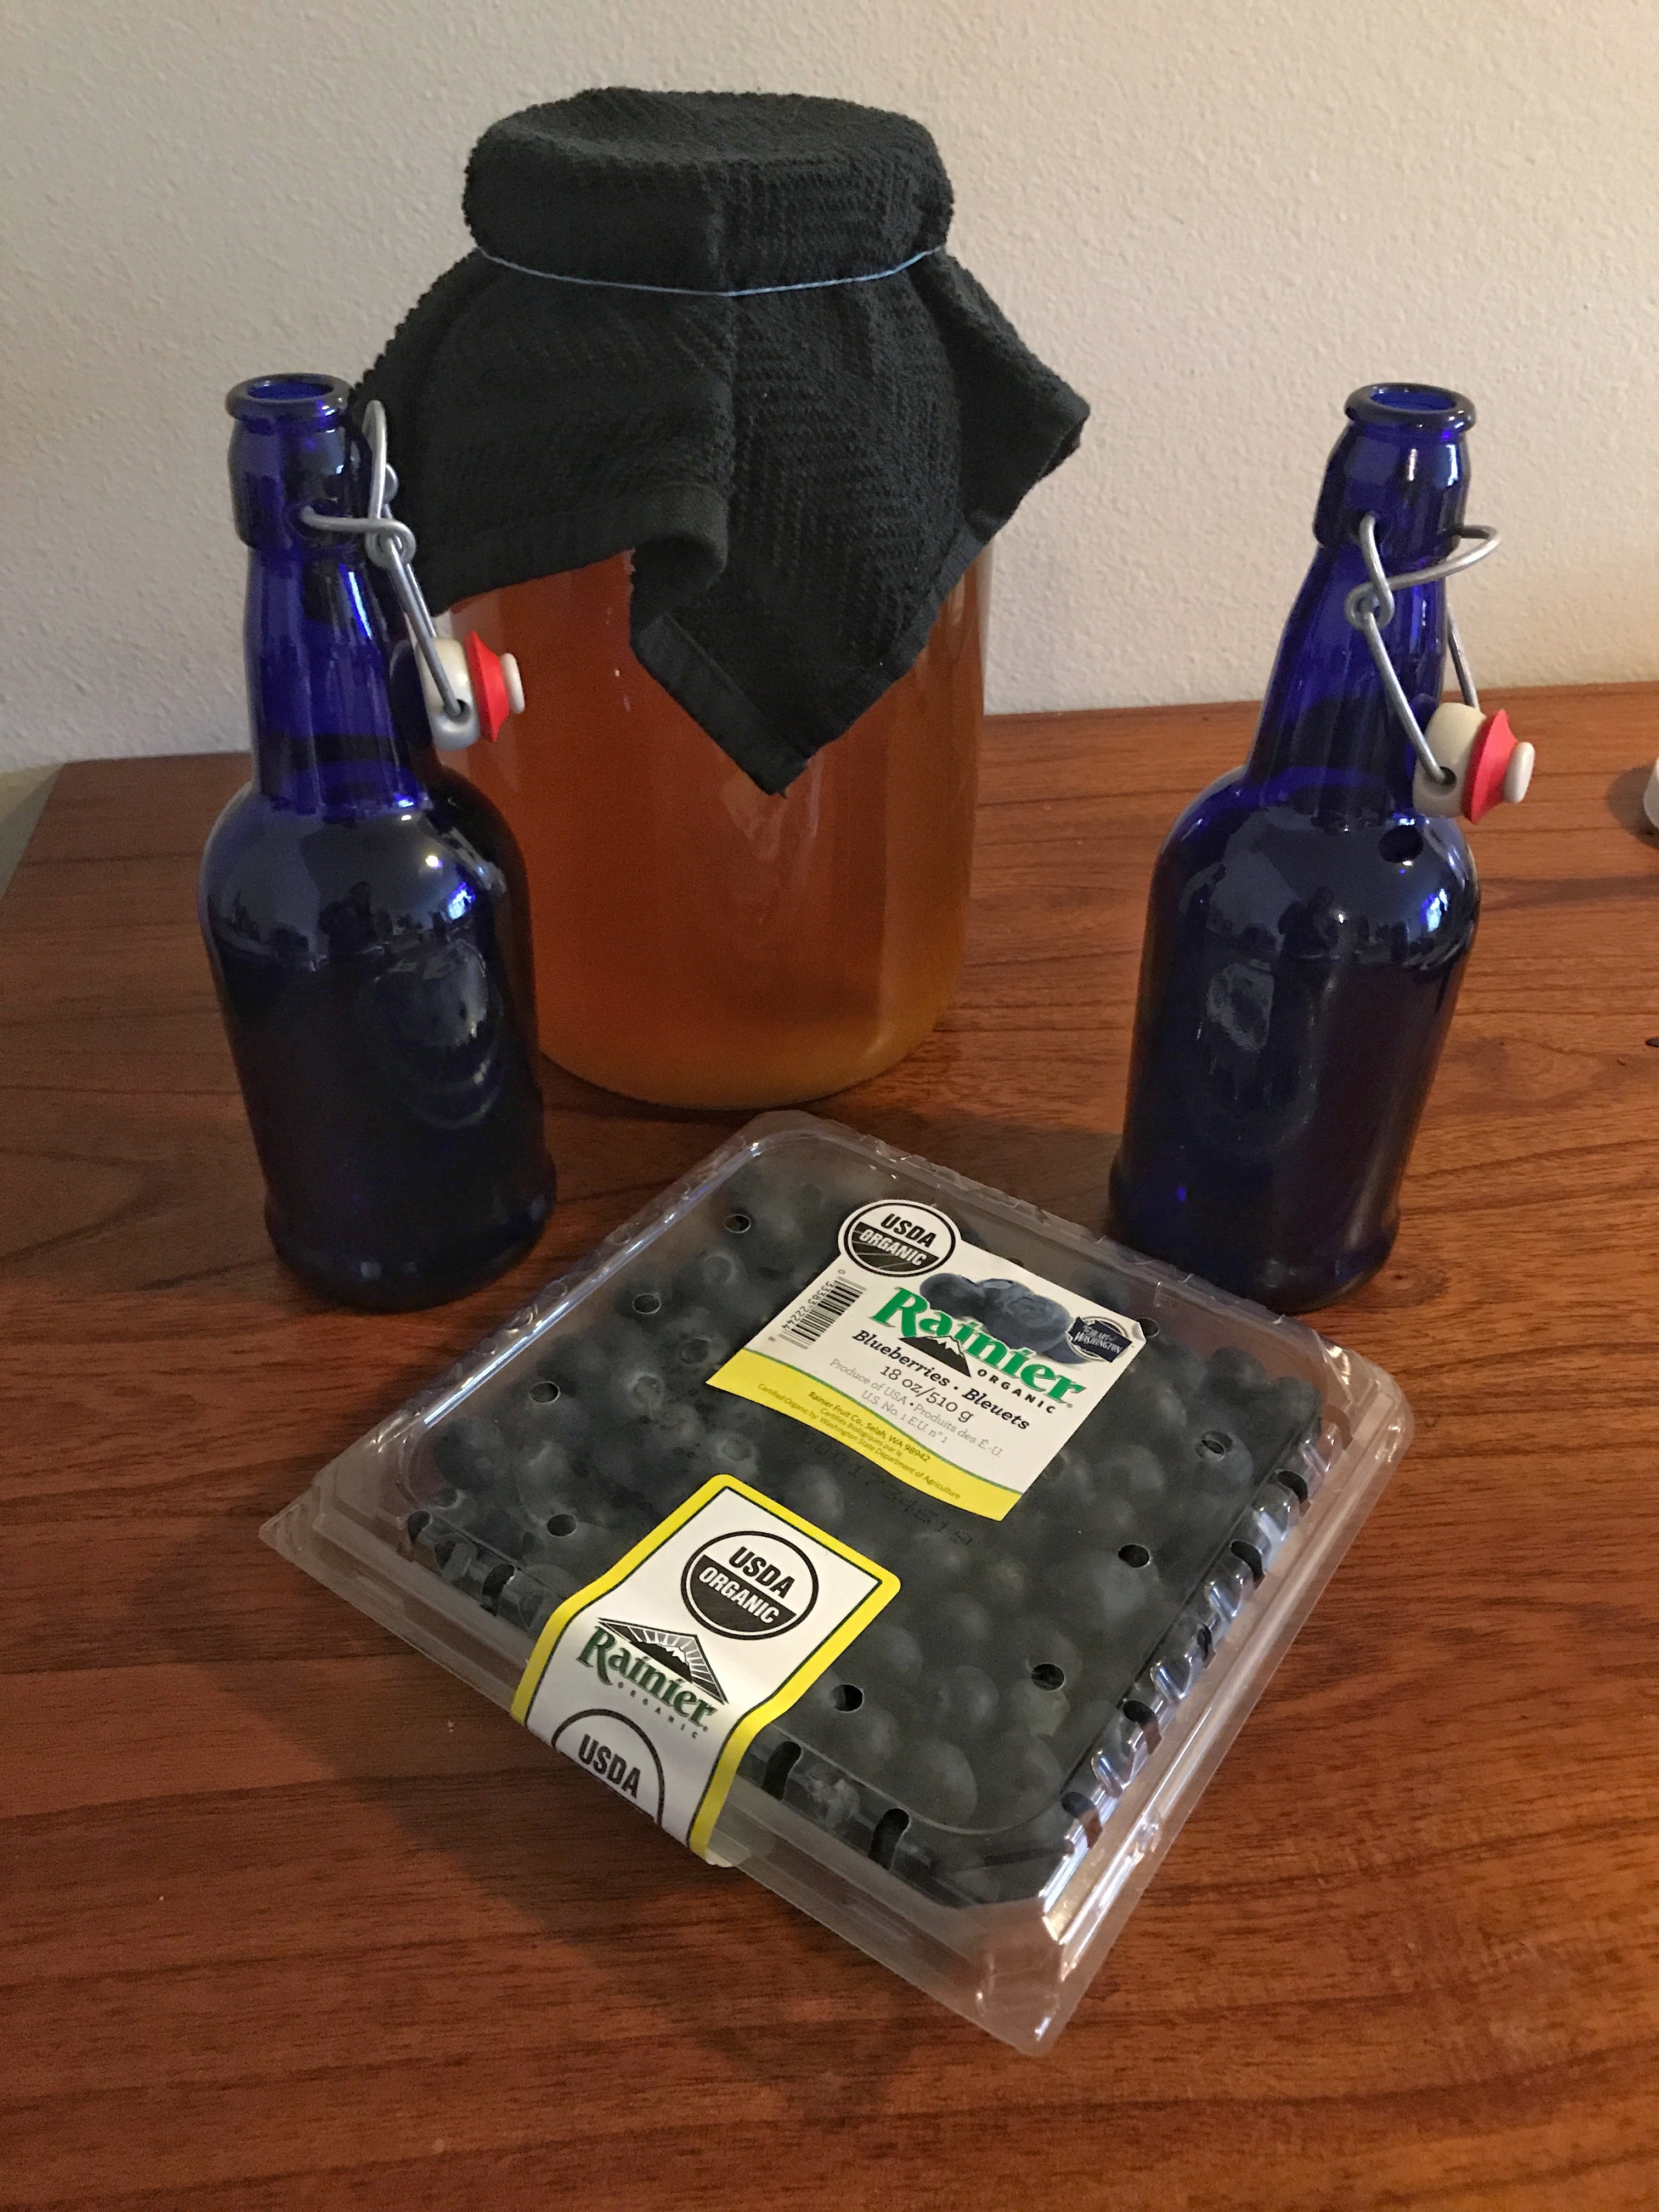
- Carbonate: Store the swing-top bottles at room temperature, away from direct sunlight, and let carbonate for 1-3 days.
- Refrigerate and enjoy: Once carbonated, store the bottled kombucha in the fridge (not on the door, as movement can agitate the carbonation) and enjoy!
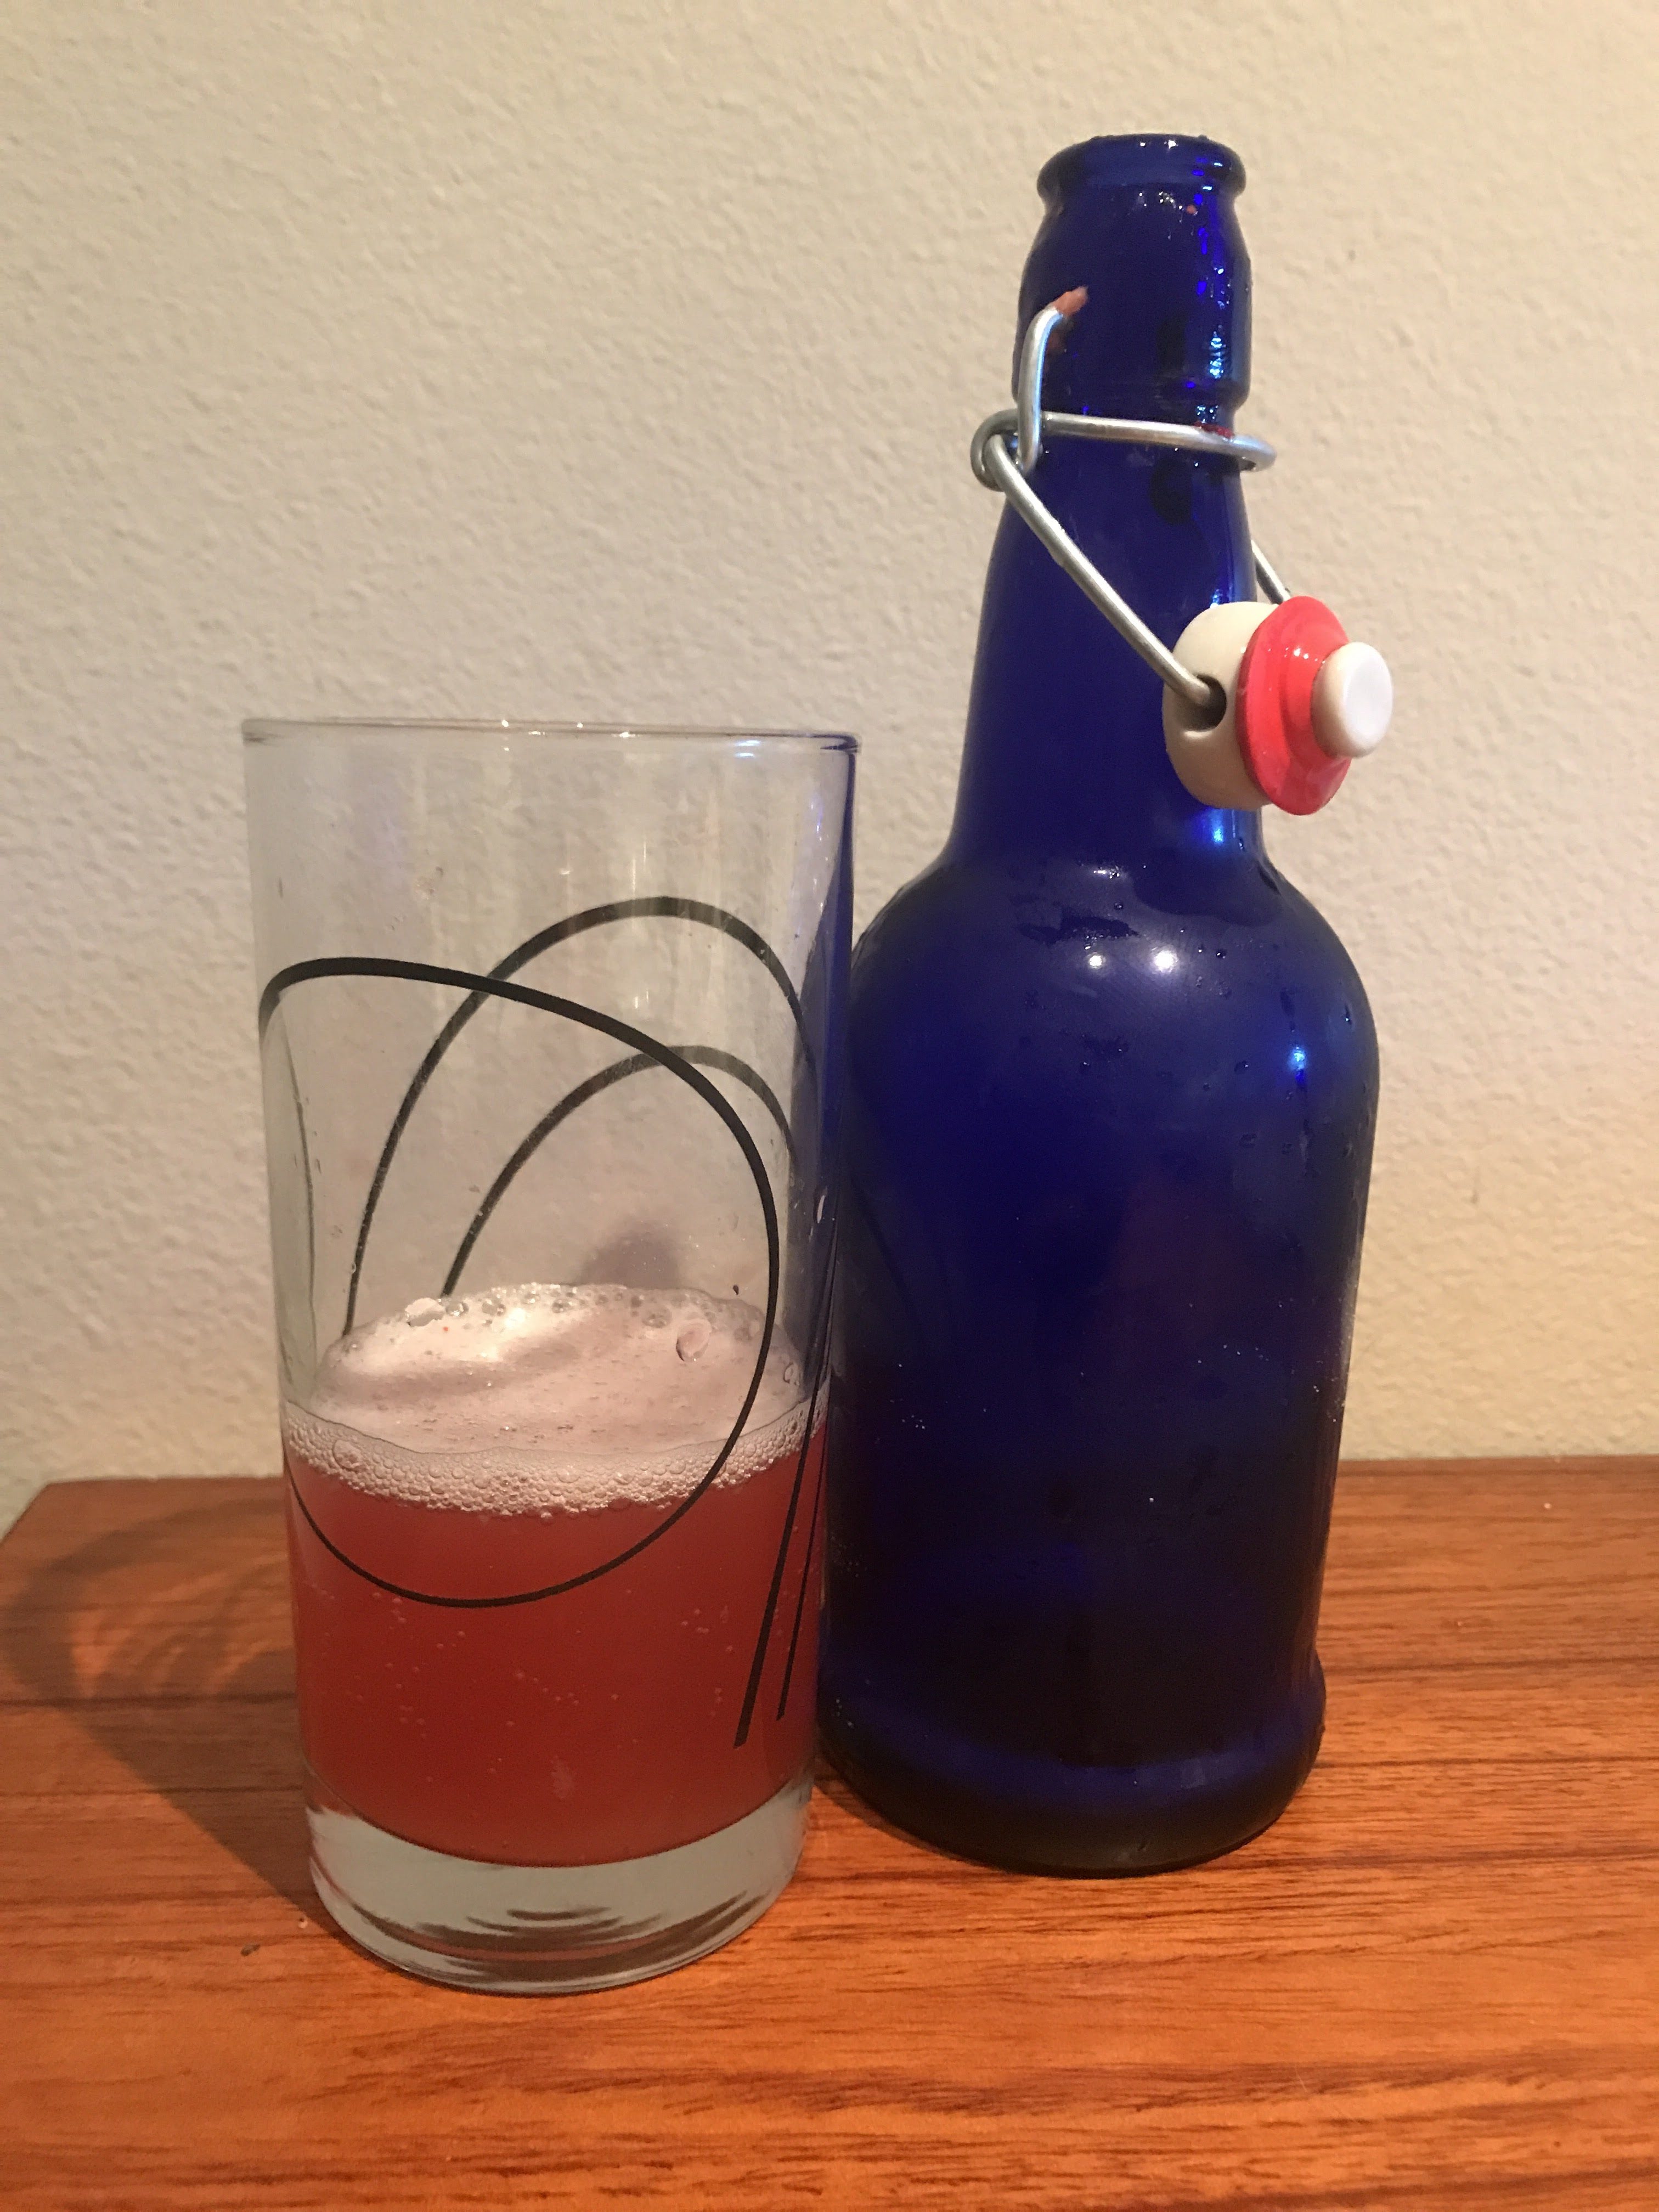
(Recipe adapted from the Kitchn)
Safety Considerations
When you purchase kombucha in the store, it has been pasteurized for safety. Store-bought kombucha travels a long way from brewing to the shelf of your local grocery store. When you make kombucha at home it is not pasteurized, which is why safety is so important, as you will read below.
As the acids in the tea can leach materials out of the brewing pot, brew your kombucha in a large clear glass jar rather than a ceramic pot. Keep your kombucha covered during the fermentation process – I use multiple thick clean dishcloths. Store your fermenting kombucha away from direct sunlight and heat but in an open, warm (~70 degrees) location.
To maintain the proper acidity, neutralize anything that will come into contact with the scoby and kombucha with white vinegar, including your hands. Make sure no metal comes in contact with the scoby or the kombucha.
Always practice caution with sanitation and sterilization. After scrubbing and washing the kombucha bottles, I will either sterilize them in a high temperature cycle in my dishwasher with no soap or sanitize them using Star San (a food-grade sanitizer used in home brewing). The funnel and any hoses used are thoroughly washed and neutralized with vinegar or sanitized as well.
Finally, do not let your kombucha ferment past the 7-10 day window, as it can become too acidic. If you see blue, green, or black bits on the scoby or in the kombucha, this means mold has grown and it is not safe to drink. If your kombucha smells like bad cheese or rotten food, do not drink it.
Don’t let the many steps and safety precautions discourage you from trying your own home brew. You can do this, just follow the steps above and you too can brew your own kombucha and enjoy both the delicious flavor and health benefits!
We love that Laura is willing to try some healthy and affordable alternatives to store bought food. Healthy whole foods are Wholesome to the Core.

